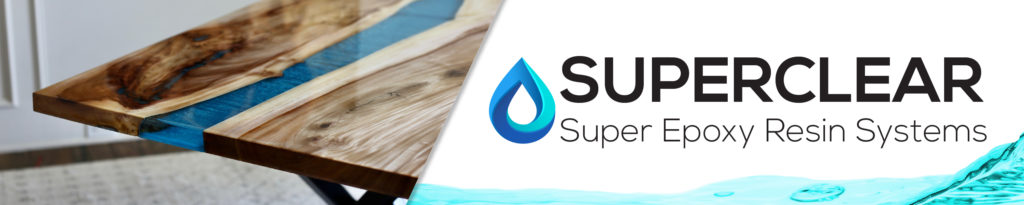
How to Make a River Table with Liquid Glass® Deep Pour Epoxy
River tables have become a popular trend in modern furniture design, and it’s no surprise why. These unique pieces add a touch of nature’s beauty to any living space. Creating a river table may seem daunting at first, but with Super Epoxy Systems’ Liquid Glass® Deep Pour Epoxy, the process is easier than you may think. In this article, we’ll guide you through the steps to create a stunning river table using our epoxy resin.
If you’d like to learn more about Deep Pour Epoxy Resin, check out this article: The Ultimate Deep Pour Epoxy Resin Guide
Materials Required
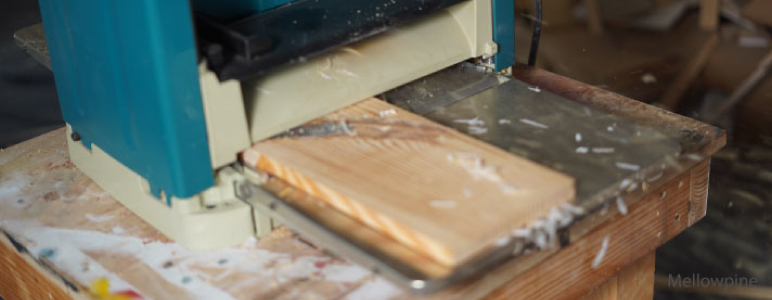
- Wood planks or live edge slabs
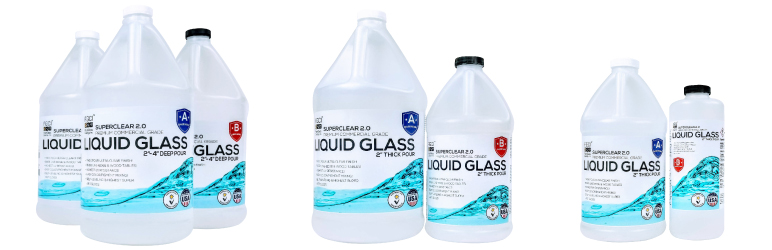
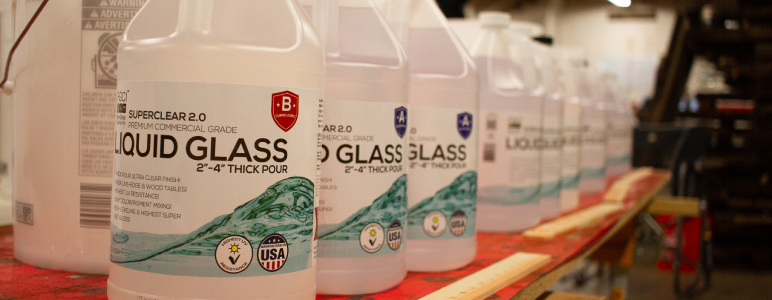
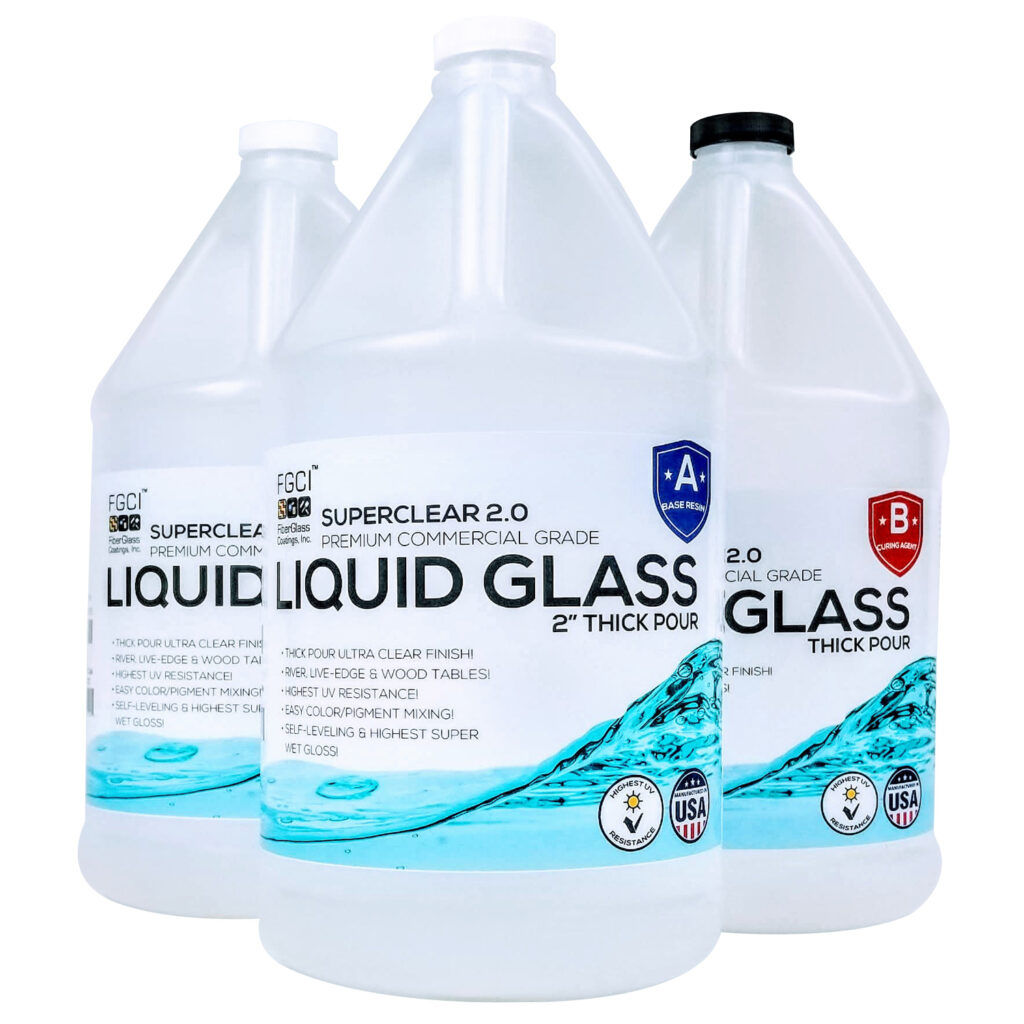
- Liquid Glass® Deep Pour Epoxy
- Superclear® Table Top Epoxy
- Mixing containers
- Stirring sticks
- Protective gloves and eyewear
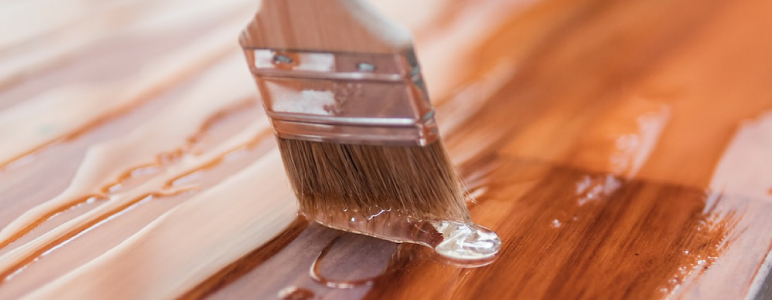
- Foam brush or roller
- Heat gun or torch
- Sandpaper and finishing supplies
- Mold or Form for application