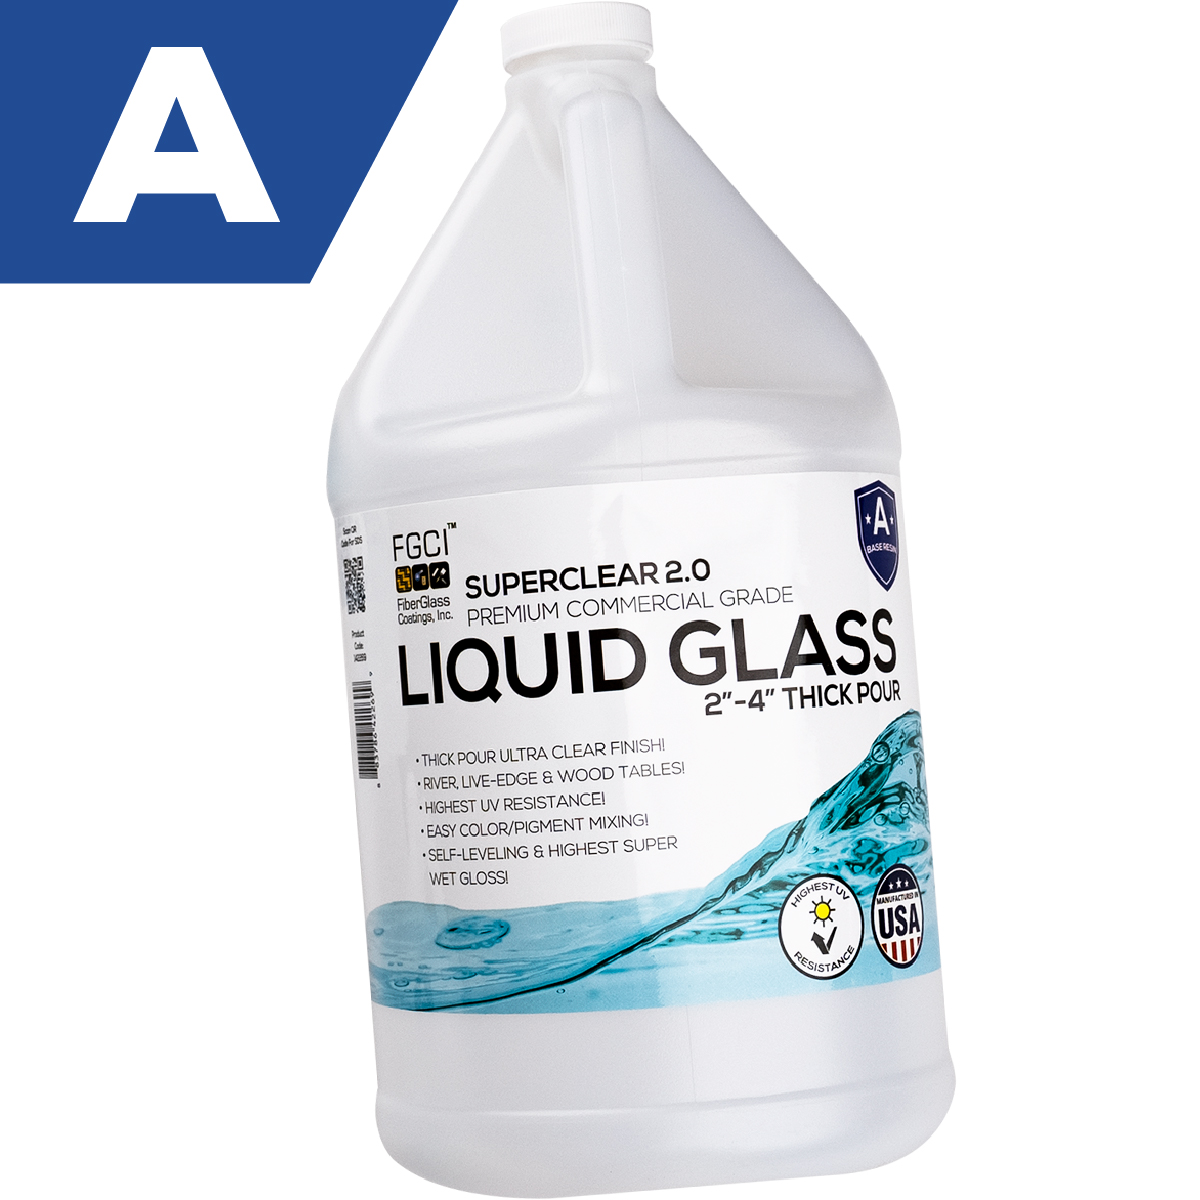
Description
Superclear® 2.0 Liquid Glass® Deep Pour Epoxy
Our Liquid Glass® Deep Pour Epoxy is absolutely unparalleled with a deep pour capability of 2-4 inches and gives you unmatched industry performance, convenience by eliminating 75% of your work, and the clearest finish you can get on the market today!
Easily calculate your epoxy pour volume with our Epoxy Resin Calculators!
Read more about Liquid Glass Deep Pour on our blog!
STEP 1:
Using the Coverage Chart, determine the amount of epoxy you will need for your project. Be sure to order SuperClear® Table Top Epoxy for a seal coat to ensure best results!
STEP 2:
Ensure your working environment is clean, dry and at least 70 degrees for best results. Lay down a plastic sheeting below your project for a safe, easy cleanup. Make sure your surface is completely level, as the epoxy will self-level.
STEP 3:
Seal Coat – Be sure to clean the surface with Isopropyl Alcohol 90% + and apply your sealcoat with a brush, following all mixing directions for that product. Let it get tacky before pouring your deep pour. If the seal layer is fully cured, for best results, lightly sand the surface with 320 grit sandpaper and clean with Isopropyl Alcohol 90% +, and then pour the deep pour.
STEP 4:
Mixing Deep Pour – Measure 2 parts Resin to 1 part Activator and pour into a clean, dry bucket or cup. Stir the mixture for at least 5 minutes with either a stir stick (if mixing with a stir stick, do not mix more than 1 quart) or a drill mixer set to low. Ensure you are not whipping air into your epoxy. Be sure to scrape the sides and bottom to ensure all of your epoxy is properly mixed.
STEP 5:
Transfer contents to a new, clean, dry bucket or cup and continue mixing for 3 more minutes to ensure proper mixing, again scraping sides and bottom.
STEP 6:
Pour mixture directly into your mold at your desired depth. Do not scrape the bucket at this time. If you do, you risk scraping in unmixed material that has clung to the sides or bottom. This would result in soft spots and/or hotspots.
STEP 7:
Use a heat source, like a heat gun to remove any air bubbles. Start at 6” minimum above the surface and sweep back and forth until no bubbles remain. Do not leave the heat gun over the surface too long, if you do, it may result in surface distortions.
STEP 8:
Allow the surface to cure, up to 72 hours in a dust-free environment. The epoxy will start to get tacky after 24 hours but do not disturb for 72 hours to ensure a proper cure.
Reviews
There are no reviews yet.